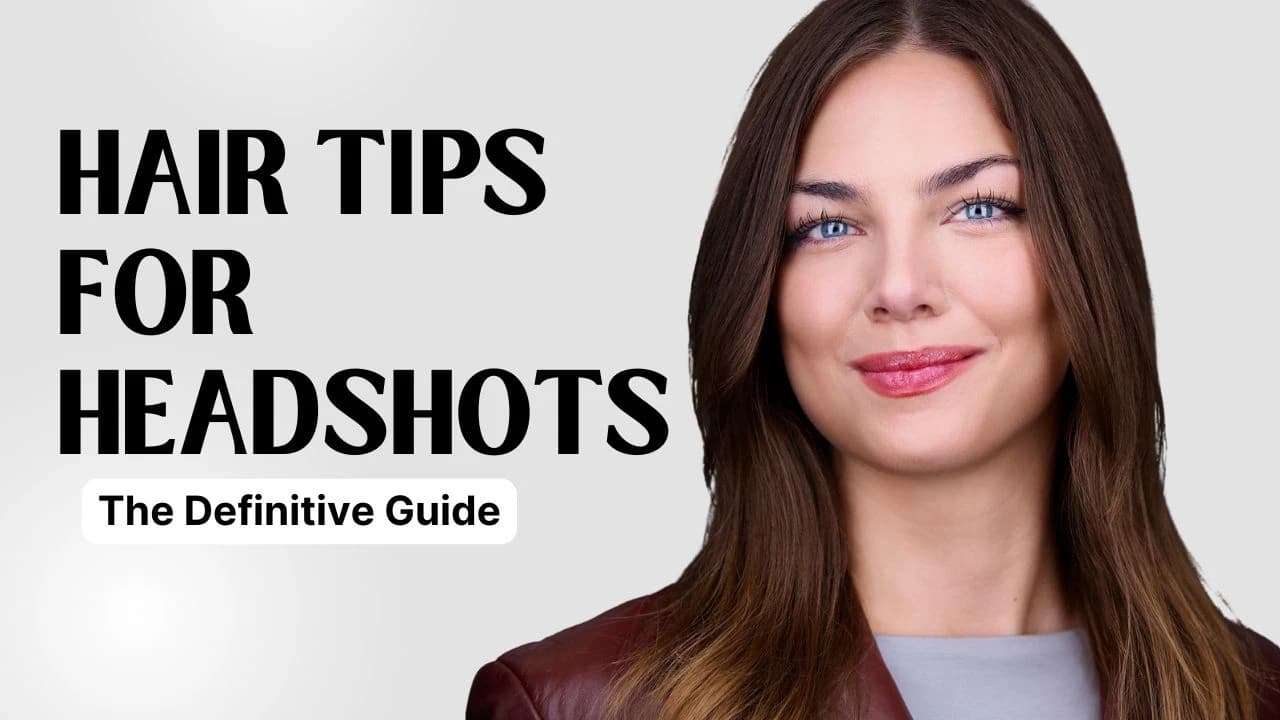
Your hair is half of what people see in a headshot, and it is the prep step that gets the least thought. People agonize over wardrobe, book the session, and then show up with a haircut from that morning or a style they have never worn before. Good hair for headshots is not about a perfect blowout. It is about clean, settled, lived-in hair that looks like you on a normal good day, because the people who meet you should recognize you from the photo.
After five years of headshot sessions in Pittsburgh, the headshot hair issues I see are remarkably consistent, and almost all of them trace back to timing and a few day-of decisions. Here is the full guide - how to time your cut and color, what to do the morning of, and how your hair behaves under studio lights - whether you wear it long, short, curly, up, down, or shaved.
When Should You Get a Haircut Before a Headshot?
The single most common hair mistake is getting a haircut the day before, or worse, the morning of. A fresh cut almost always looks raw on camera - sharp edges, visible scalp along the part, product residue, and lines that have not softened into how you actually wear your hair.
Aim for 7 to 14 days before your session. That window lets the cut settle and grow in just enough to look like your real hair rather than a brand-new one. If you cannot time it perfectly, lean earlier rather than later - week-and-a-half-old hair photographs far better than day-old hair. This is true for everyone, but it matters most for short cuts and clipper work, where the difference between a fresh fade and a settled one is obvious at headshot resolution.
Don't get cut the day before. A same-day or next-day haircut is the most common reason hair looks "off" in an otherwise great headshot. Book the cut 7 to 14 days out and let it settle.
Color Is the Same Story: Schedule It a Week Out
If you color your hair, treat color the way you treat the cut: schedule it about a week before, not the day before and not the day of. Fresh color, especially all-over single-process, can look flat and uniform in a way that reads slightly unnatural under bright studio light. A few days of settling lets the tone soften and your roots-to-ends transition look real.
The same applies to covering grays or refreshing highlights. And if gray is part of your look, lean into it. Salt-and-pepper and silver photograph beautifully and read as confident and authoritative - there is no need to cover it for a professional headshot unless you already do in daily life.
What Should You Do With Your Hair the Morning Of?
Keep it simple and clean. Wash your hair the morning of, or the night before if that is when it sits best for you. Style it dry - damp hair photographs darker and can look unintentionally wet. Then use the products you normally use, in the amounts you normally use. This is one piece of a bigger routine; our full headshot prep guide covers the rest of the day-of checklist.
Two things to avoid: heavy oils and anything with a high shine. Oil-based serums and glossy pomades catch studio lights and create bright hot spots that pull attention from your eyes and are a pain to retouch. A matte-to-natural finish photographs cleanest. If your hair has a defined part, set it the way you wear it before you arrive - I can fine-tune it on the chair, but starting from your real part saves time and looks the most like you.
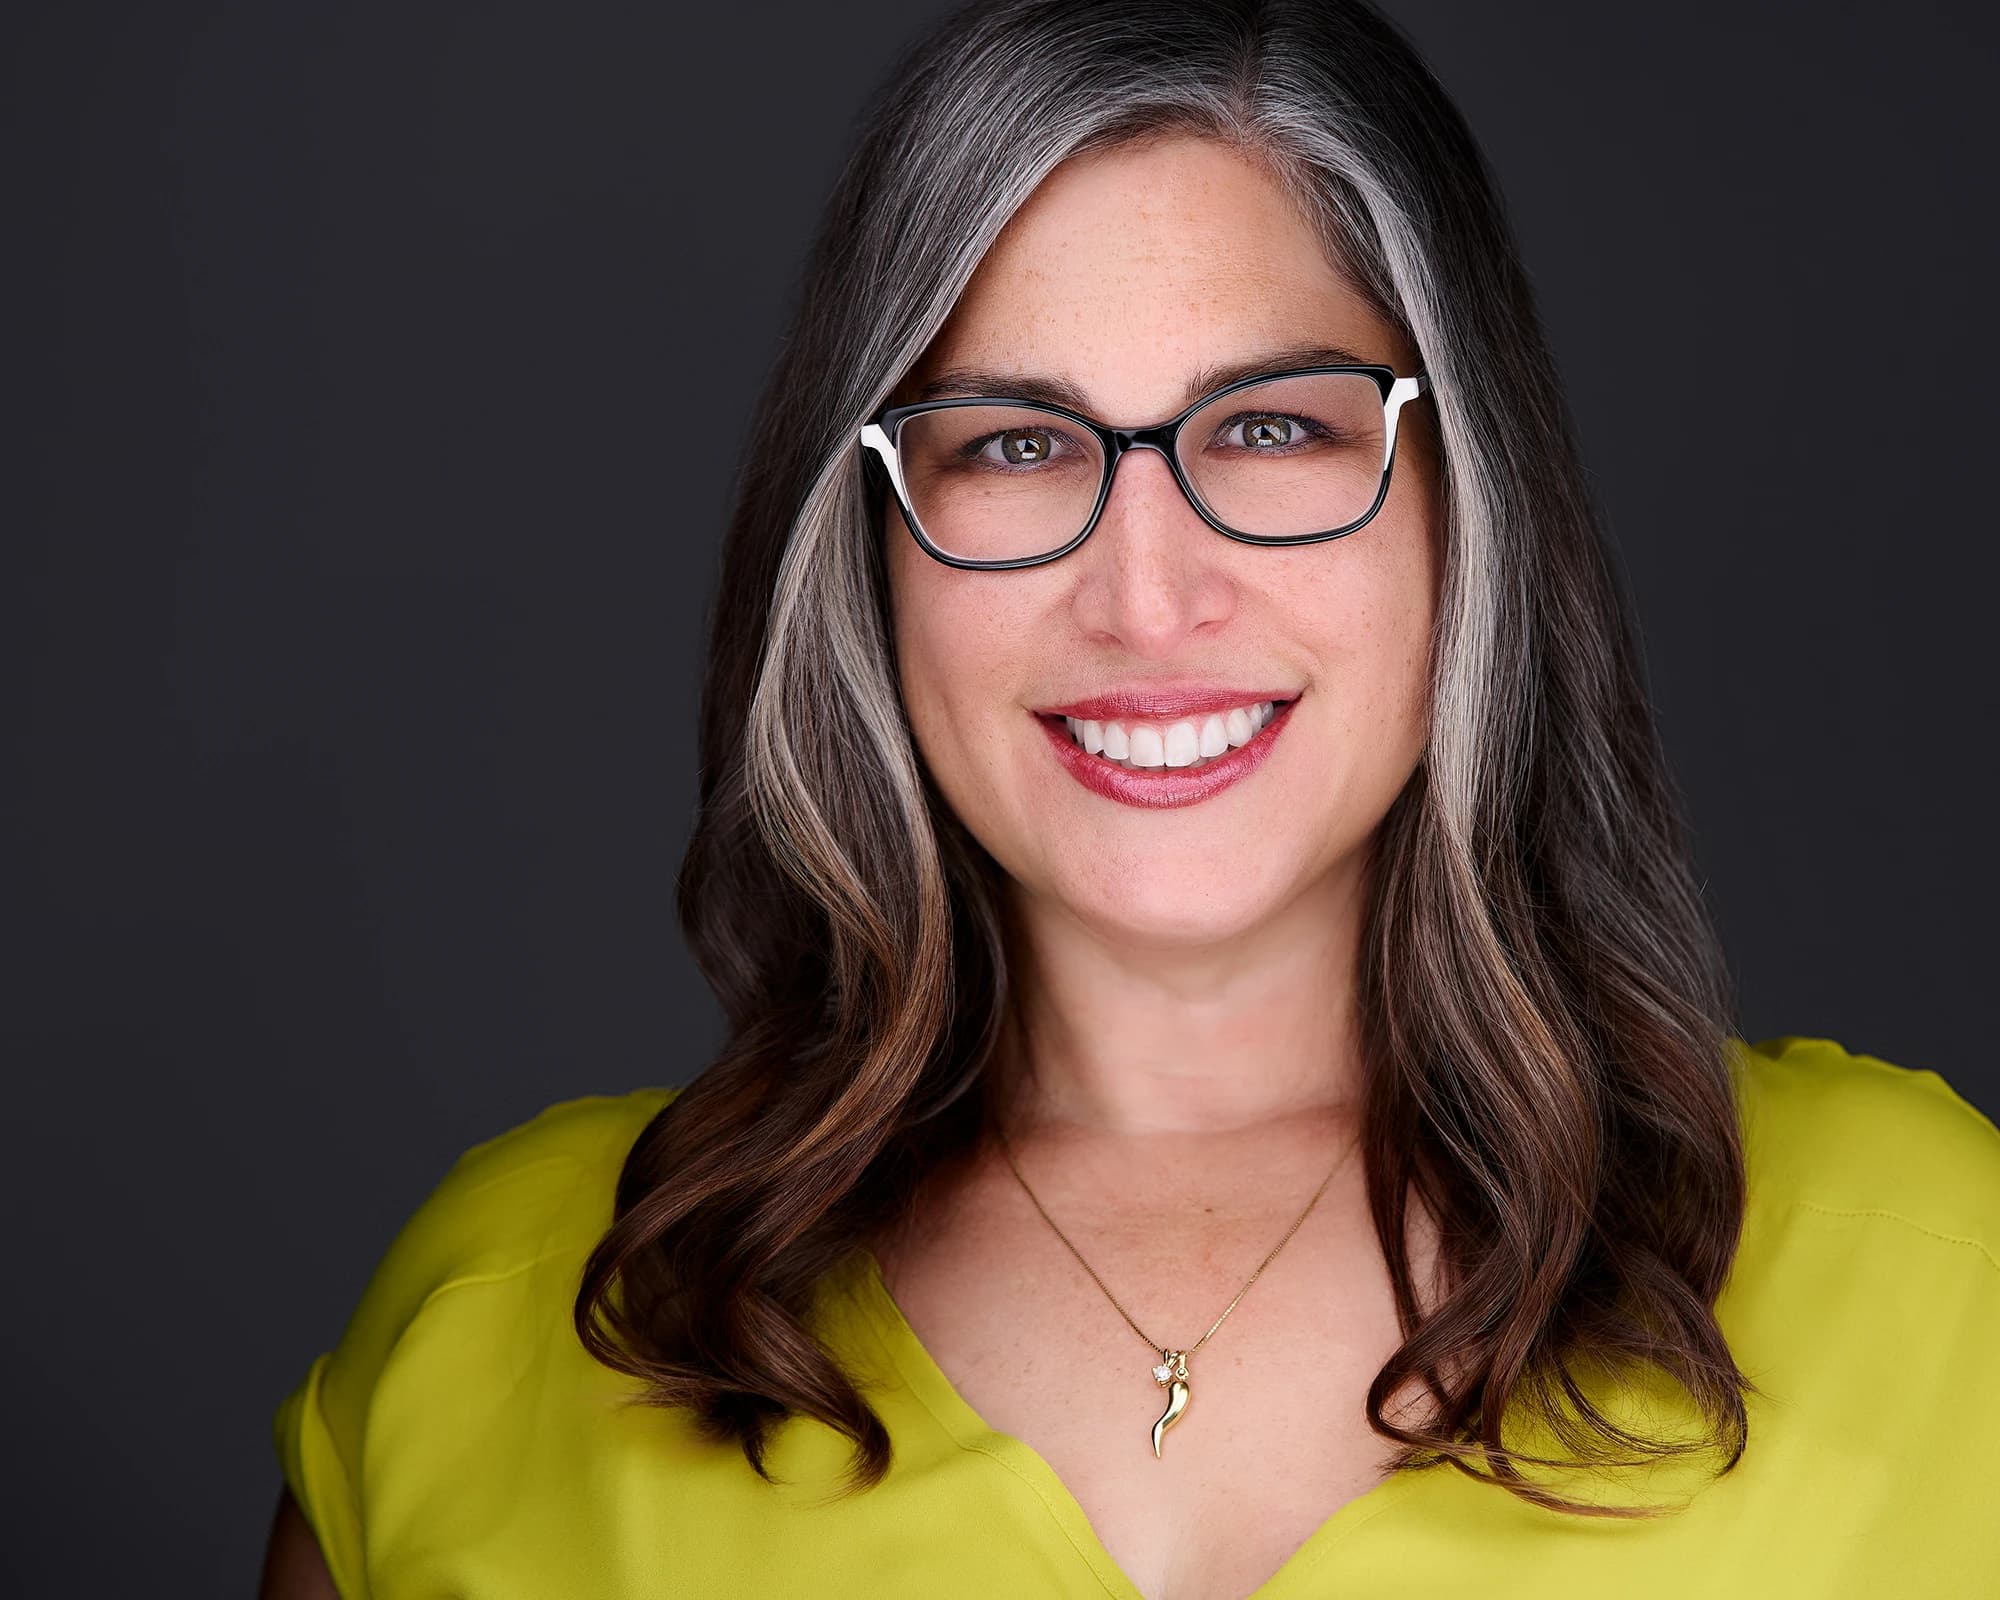
Hair Down: Keep the Definition Through the Session
If you wear your hair down, the enemy is a studio that is cooler and drier than you expect. Curls relax, blowouts fall, and definition fades over a 30 to 60 minute session. Style it the way you want it to read, then bring a small kit for touch-ups - a travel iron or wand, a comb, a little product. Thirty minutes and one cool room are enough to lose a curl pattern, so plan to refresh.
Bring whatever you actually use. My studio kit covers the basics, but your own tools and product work better on your hair than anything generic.
Keep Your Hair Off Your Shoulders
Here is the one almost nobody expects: hair pooling on top of your shoulders. It is one of the most common things that quietly makes a headshot look frumpy, because it piles visual weight right at the bottom of the frame where the photo crops. In the studio I almost always have people wear their hair fully forward over the shoulders, or swept cleanly back - and usually forward. Sometimes we split it, one side forward and one side back, so it reads as a deliberate choice rather than an accidental pile on each shoulder. It is a tiny adjustment that makes an outsized difference, and we will set it together before the first frame.
Hair Up and Updos: Soft Usually Wins
For hair worn up, most people photograph better with a softer up-do - a low ponytail, a half-up, a loose chignon - than with a severe, tightly pulled style. Soft framing around the face flatters; a hard pull can read stern and exposes every flyaway. The exception is more formal industries like law, finance, and executive leadership, where a polished, tailored up reads as authoritative and on-brand. Match the style to how you actually present at work.
Whatever you choose, bring extra bobby pins. Loose strands read disproportionately large at headshot resolution, and a tidy hairline does a lot of quiet work in the final image. For the complete women's prep picture, see our headshot tips for women.
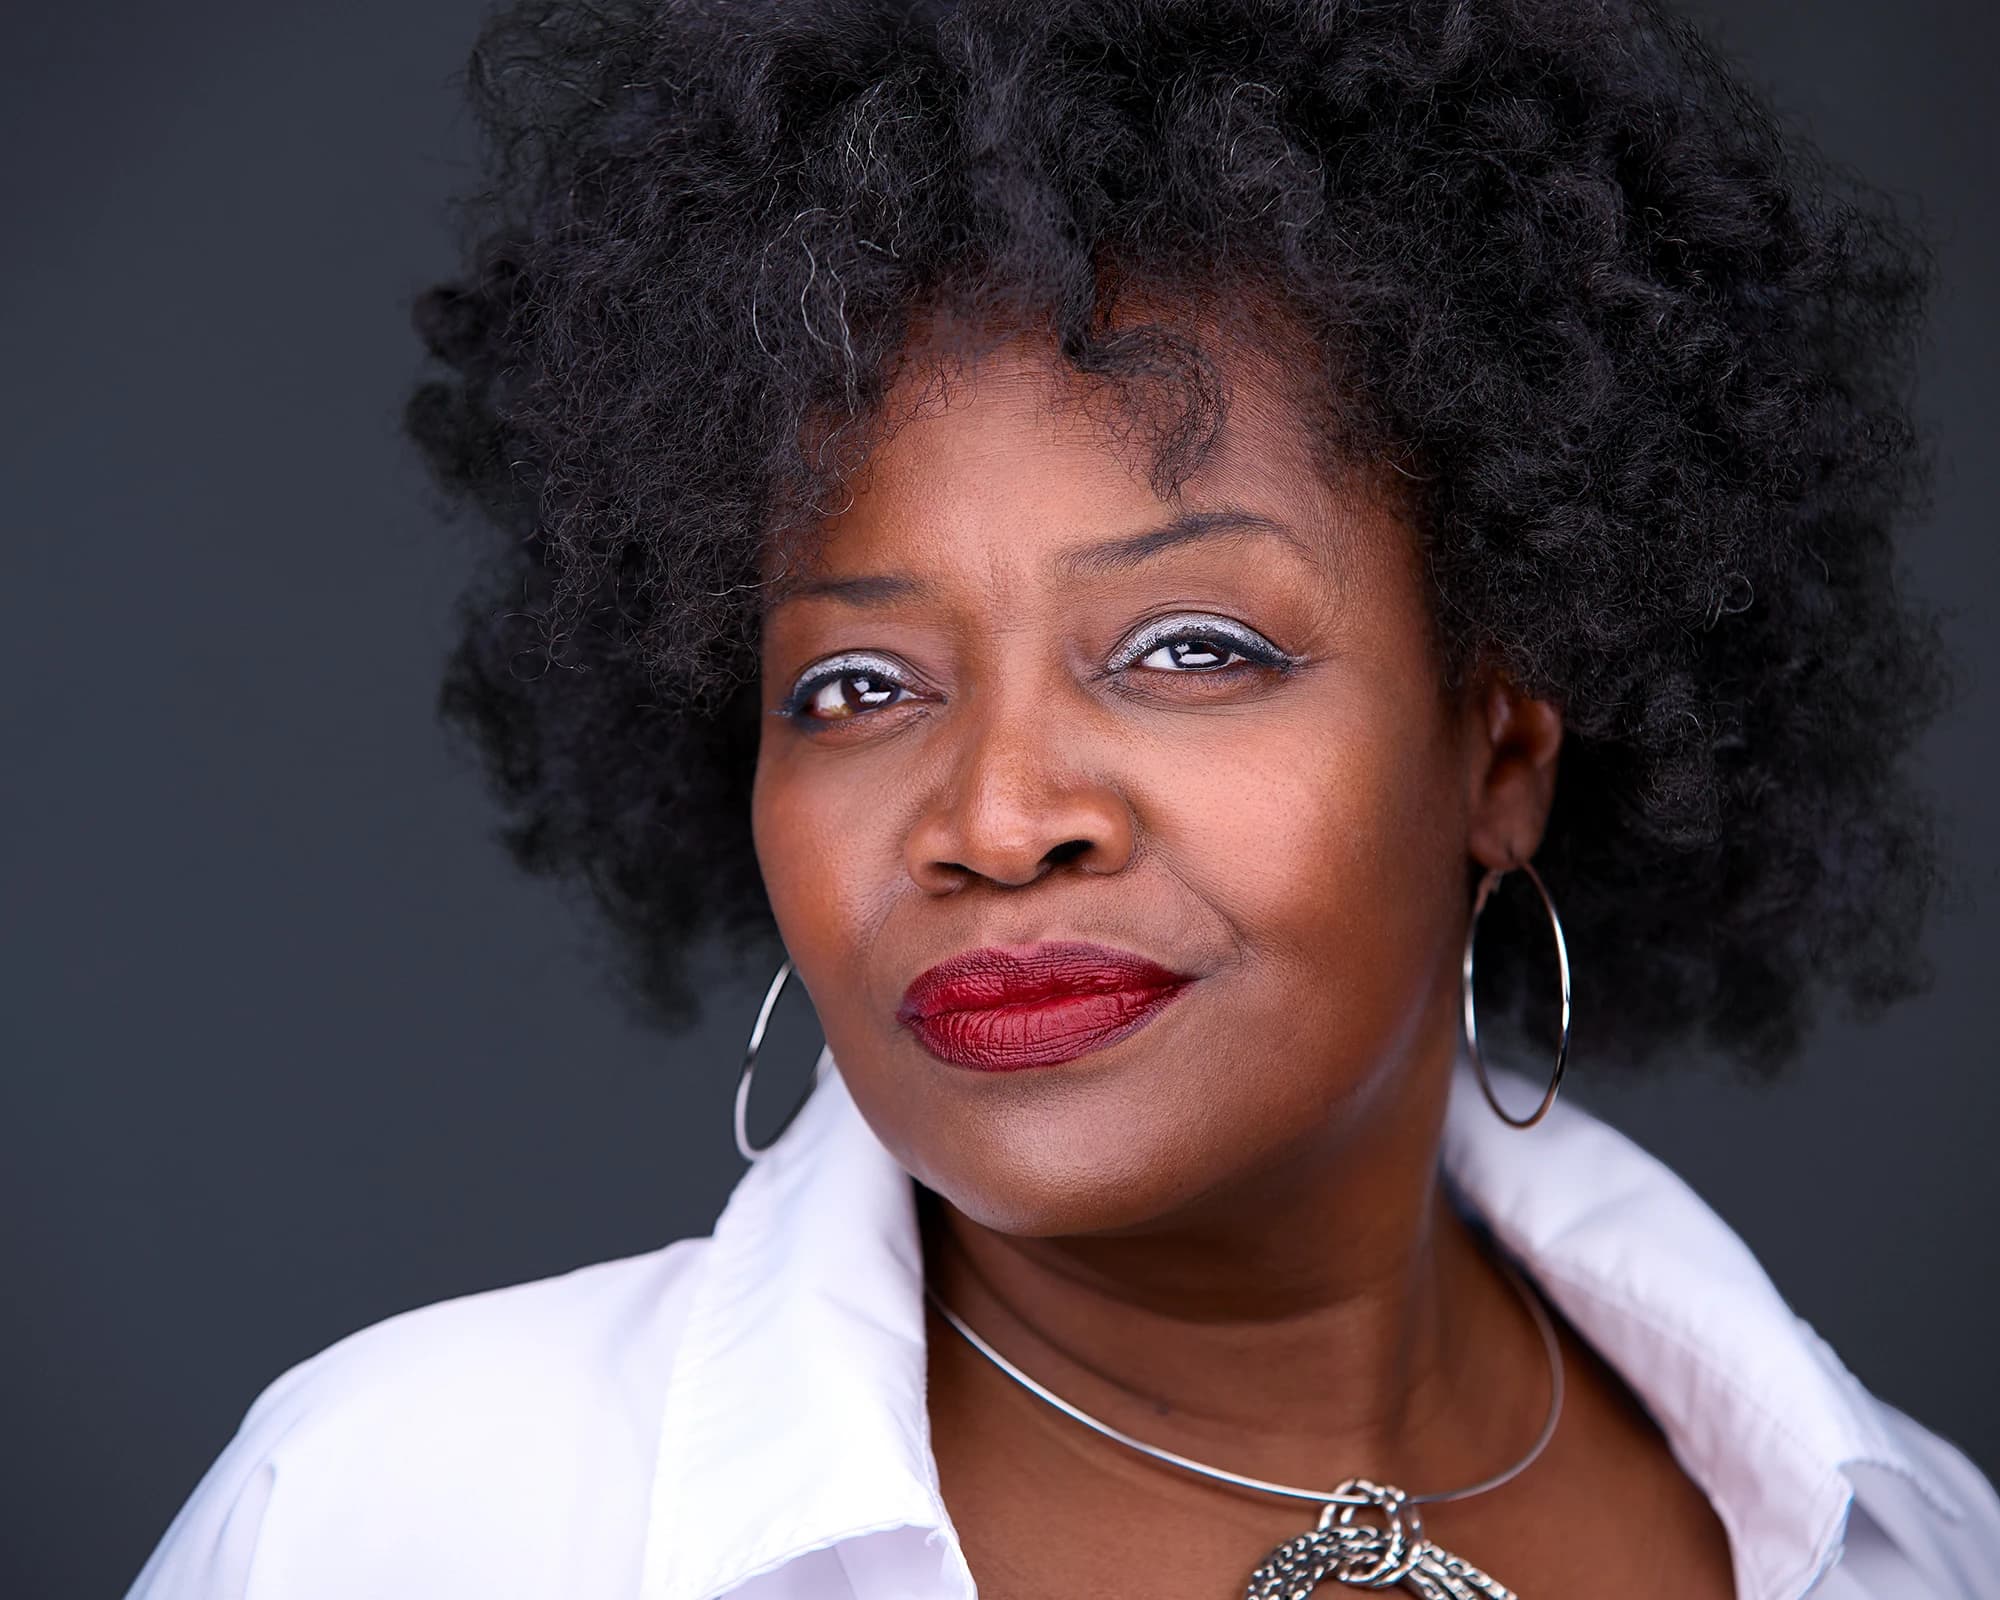
Curly and Textured Hair: Work With It, Not Against It
Curly, coily, and textured hair almost always photographs best when you work with your natural texture rather than fighting it into something it does not want to do. Studio styling against your texture - a rushed straighten, an unfamiliar product - tends to fall apart on camera and stops looking like you.
Wash and style on your normal schedule with your normal products, and arrive with your hair the way it looks on a good day. If you want a professional who knows your texture, we offer in-studio hair (more on that below). The goal is defined, healthy, and intentional, not transformed.
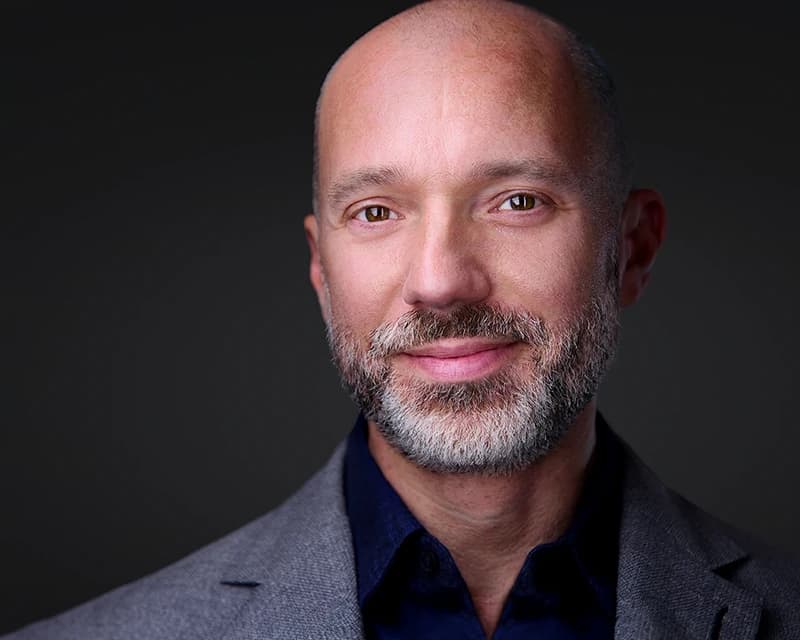
Thinning, Receding, and Shaved Heads: It's a Lighting Problem
If you are thinning, have a receding hairline, or shave your head, the good news is that most of the "problem" is mine to solve, not yours. The lighting strategy I use keeps highlights off the scalp where you do not want shine, and places shadow where it fills in the perceived hairline. You do not need to do anything special - clean, dry, no heavy product, and trust the photographer.
For shaved or bald heads, a light dusting of matte powder controls shine on the crown under the lights, and the posing and lighting do the rest. Heads that catch a lot of top light can look flat, so I tend to bring the light more level with the face to keep dimension. I will position you when you step in front of the camera, so you do not have to think about it. For the rest of the men's grooming picture, including facial hair and skincare, see our headshot tips for men.
Flyaways Are the Silent Headshot Killer
At the resolution of a professional headshot, a few stray hairs that you would never notice in a mirror can read as a halo of frizz. This is the single most common thing I clean up in retouching, and a lot of it can be prevented in 30 seconds: a comb, a touch of product or a light mist of hairspray on the flyaways, and a tidy hairline before the first frame.
I keep hairspray, a comb, and pins at the studio, and I will flag flyaways as we shoot. But the better your hair starts, the more of the session we spend on your expression instead of fixing strands.
Want a Pro to Do Your Hair?
You do not have to do your own hair. For executive and board-level portraits especially, many of my clients add on our in-studio hair so they can simply walk in and let someone else handle it - no coordinating an outside stylist, no guesswork.
We offer in-studio hair as an add-on at the studio, worked specifically around how we shoot - a stylist who dials your everyday look up just enough to register on camera and adapts to your hair texture, with no surprise transformations. They already know how I light and shoot, which is the real advantage of using ours rather than bringing your own. If you are doing your own makeup too, our companion guide on headshot makeup covers that side. To add hair to your session, book and ask about the add-on.
Your Day-Of Hair Checklist
- Cut 7 to 14 days ago, color about a week ago - not fresh.
- Washed and fully dry before you leave.
- Styled the way you wear it on a normal good day.
- Matte-to-natural product only - no heavy oils or high-shine glossers.
- Your part set the way you actually wear it.
- A small touch-up kit packed: comb or brush, pins, your product, and a travel iron or wand if you curl or straighten.
- Flyaways tamed before the first frame (I will help).
The best hairstyles for professional headshots are not the most elaborate ones. The best headshot hair is the kind nobody comments on, because it simply looks like you on a great day. Get the timing right, keep the products matte, and let the lighting handle the rest. When you are ready, browse the rest of our headshot preparation guides or book a session and we will make it easy.